Chromebook では仮想マシンとして Linux を利用可能です。 その Linux から Alibaba Cloud CLI を使ってみる話となります。
目次
Alibaba Cloud CLI のインストール
Alibaba Cloud Document Center にある手順を参考にインストールを進めます。
マニュアルには tgz ファイルのダウンロードリンクからダウンロードする方法と GitHub からダウンロードする2つの方法が紹介されています。 今回は tgz ファイルを直接ダウンロードします。
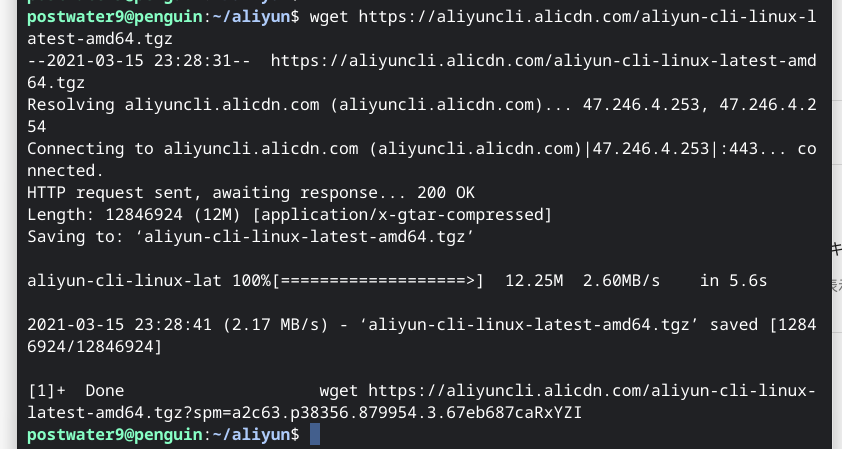
wget https://aliyuncli.alicdn.com/aliyun-cli-linux-latest-amd64.tgz
Chromebook の Linux ターミナルで上記コマンドを実行します。
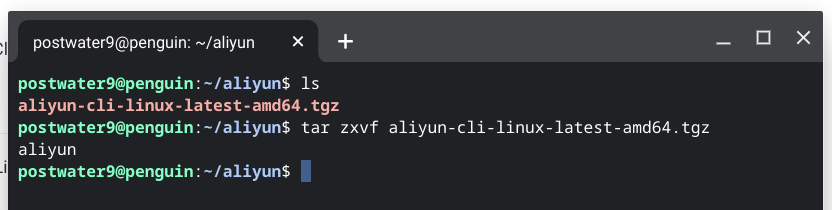
ダウンロードしたファイルを解凍、展開します。
tar zxvf aliyun-cli-linux-latest-amd64.tgz
以下はターミナルでの実行結果です。 aliyun コマンドが展開されれば OK です。
認証の設定
入手した aliyun コマンドを利用するには事前に認証の設定が必要です。 Document Center では以下の4つの方法が案内されています。
| uthentication method | Description | Interactive configuration credential (fast) | Non-interactive configuration credential |
|---|---|---|---|
| AK | Use the AccessKey ID and AccessKey Secret to complete the authentication. | Configure AccessKey credential | Configure AccessKey credential |
| StsToken | Use the STS Token to complete the authentication. | Configure STS token credential | Configure STS token credential |
| RamRoleArn | Use the AssumeRole of the RAM account to complete the authentication. | Configure RamRoleArn credential | Configure RamRoleArn credential |
| EcsRamRole | Use the RAM role of an ECS instance to complete the authentication. | Configure EcsRamRole credential | Configure EcsRamRole credential |
今回はテストなので AK (Access Key) を利用します。 セキュリティリスクや運用性を考えると STS や EcsRamRole などで用途や範囲を限定しすることがおすすめです。 Access Key の場合は権限が強すぎること、一度使い始めると変更が難しい運用の難しさもあります。
Document Center の手順に従い設定します。認証の設定なので具体的な内容は割愛しますが、以下の太字部分が設定となります。
|
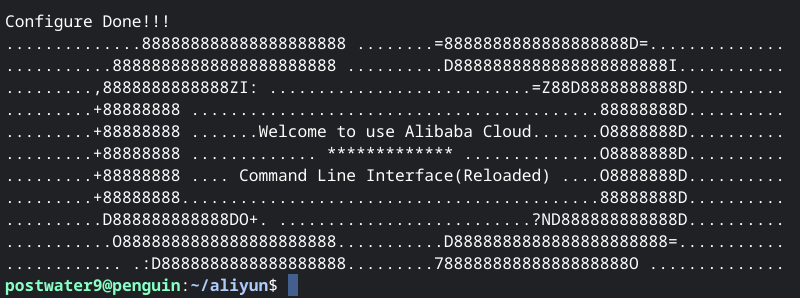
設定に問題がない場合は以下のように Configure Done!! と表示されます。
Alibaba Cloud CLI のテスト
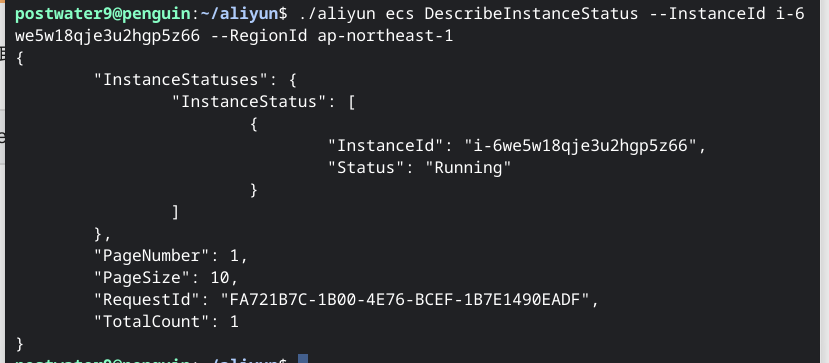
Alibaba Cloud の ECS インスタンスの状態を取得してみます。
| aliyun ecs DescribeInstanceStatus –InstanceId i-6we5w18qje3u2hgp5z66 –RegionId ap-northeast-1 |
実行結果は以下。 特に問題なく動作しました。
まとめ
Chromebook の Linux でも Alibaba Cloud CLI が何の問題もなく動作することが確認出来ました。 今回はテストだったので普段使うことのない Access Key を無効にして作業を終わりにします。
以上